Tips for virtual brainstorming
Group assignments and development tasks often begin with the brainstorming stage, whether it is a large project or a smaller group assignment. When brainstorming in an in-person meeting, sticky notes are usually used in naming and grouping ideas. Virtual brainstorming works in the same way: each participant can bring their own ideas to the whiteboard for further processing.
Virtual whiteboards can also be used to collect videos or images or to clarify large entities as a mind map, for example.
Padlet
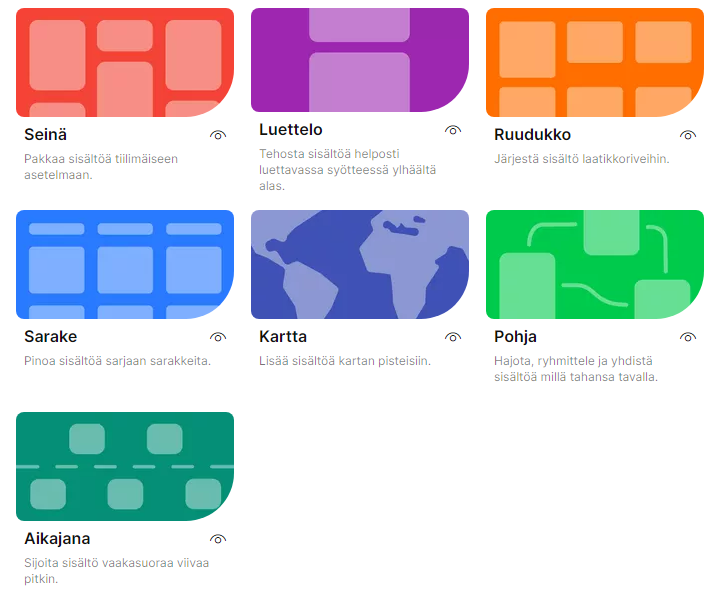
Padlet is a virtual whiteboard where users can add text, images, videos, links and files. Various Padlet models allow you to choose a suitable template for your application (see the photo).
- Go to the eLearning Services
- Select Siirry Padletiin (Go to Padlet) under Työvälineet (Tools).
- Log in using Log in with Google
○ Log in with your student account
○ Verify account - Create a Padlet and select a template from the options provided.
- Open the settings by clicking on the cogwheel icon.
- Give your Padlet wall a name and a short description.
- Change the colour of the background or the wallpaper if you wish.
- Determine whether users have the ability to comment and respond to posts.
- Use the Share button to share your Padlet wall with other users
○ Edit your privacy settings options private, password, secret, org wide.
○ Edit visitor permissions: whether the visitor can read, write, or edit on the Padlet wall. - Use the plus sign to add posts on the wall where you can add text, files, images, or links.
See eLearning Services’ Padlet instruction video (10:19) (opens in a new tab).
Video is in finnish, select subtitles -> auto-translate -> english.
See short videos Padlet for beginners (opens in a new tab).

Flinga
The web-based whiteboard Flinga is suitable for communal information building, for example. Flinga works with a web browser, so it can be used on a computer, tablet and mobile, as long as there is an internet connection.
- Go to the eLearning Services
- Select Siirry Flingaan (Go to Flinga) under Työvälineet (Tools), or enter https://edu.flinga.fi/ in the address bar of your browser.
- Log in to Lapland University of Applied Sciences or University of Lapland.
- At the bottom of the page, change the language to English.
- Select Flinga Whiteboard or Flinga Wall.
- Create a session and give the session a name.
- To share your Flinga with participants, copy the address from your browser’s address bar or click on the three dashes on the left-hand side (hamburger button) and share a QR code.
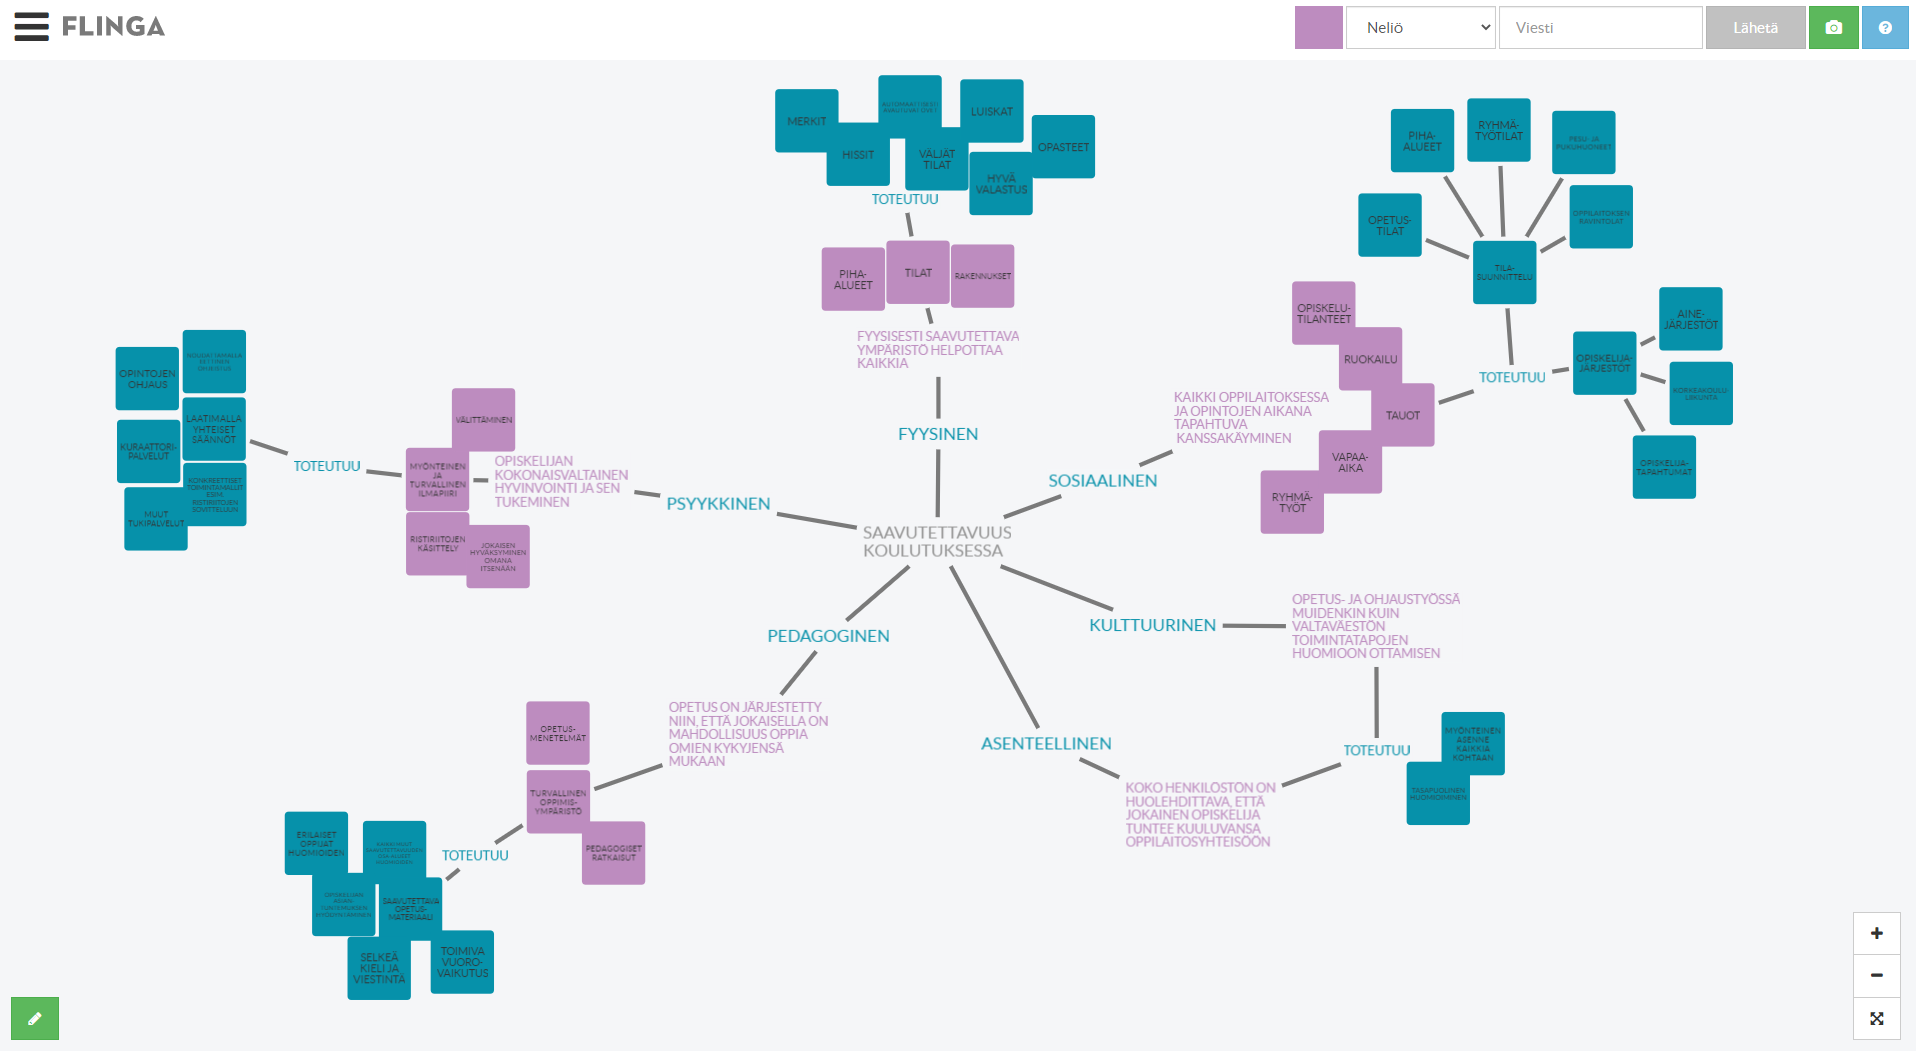
See eLearning Services’ Flinga instruction video (5:04) (opens in a new tab). For example, the video will show you how to make posts in different colours and shapes, how to create a mind map, and how to share a Flinga session with others.
Video is in finnish, select subtitles -> auto-translate -> english.

Google Jamboard
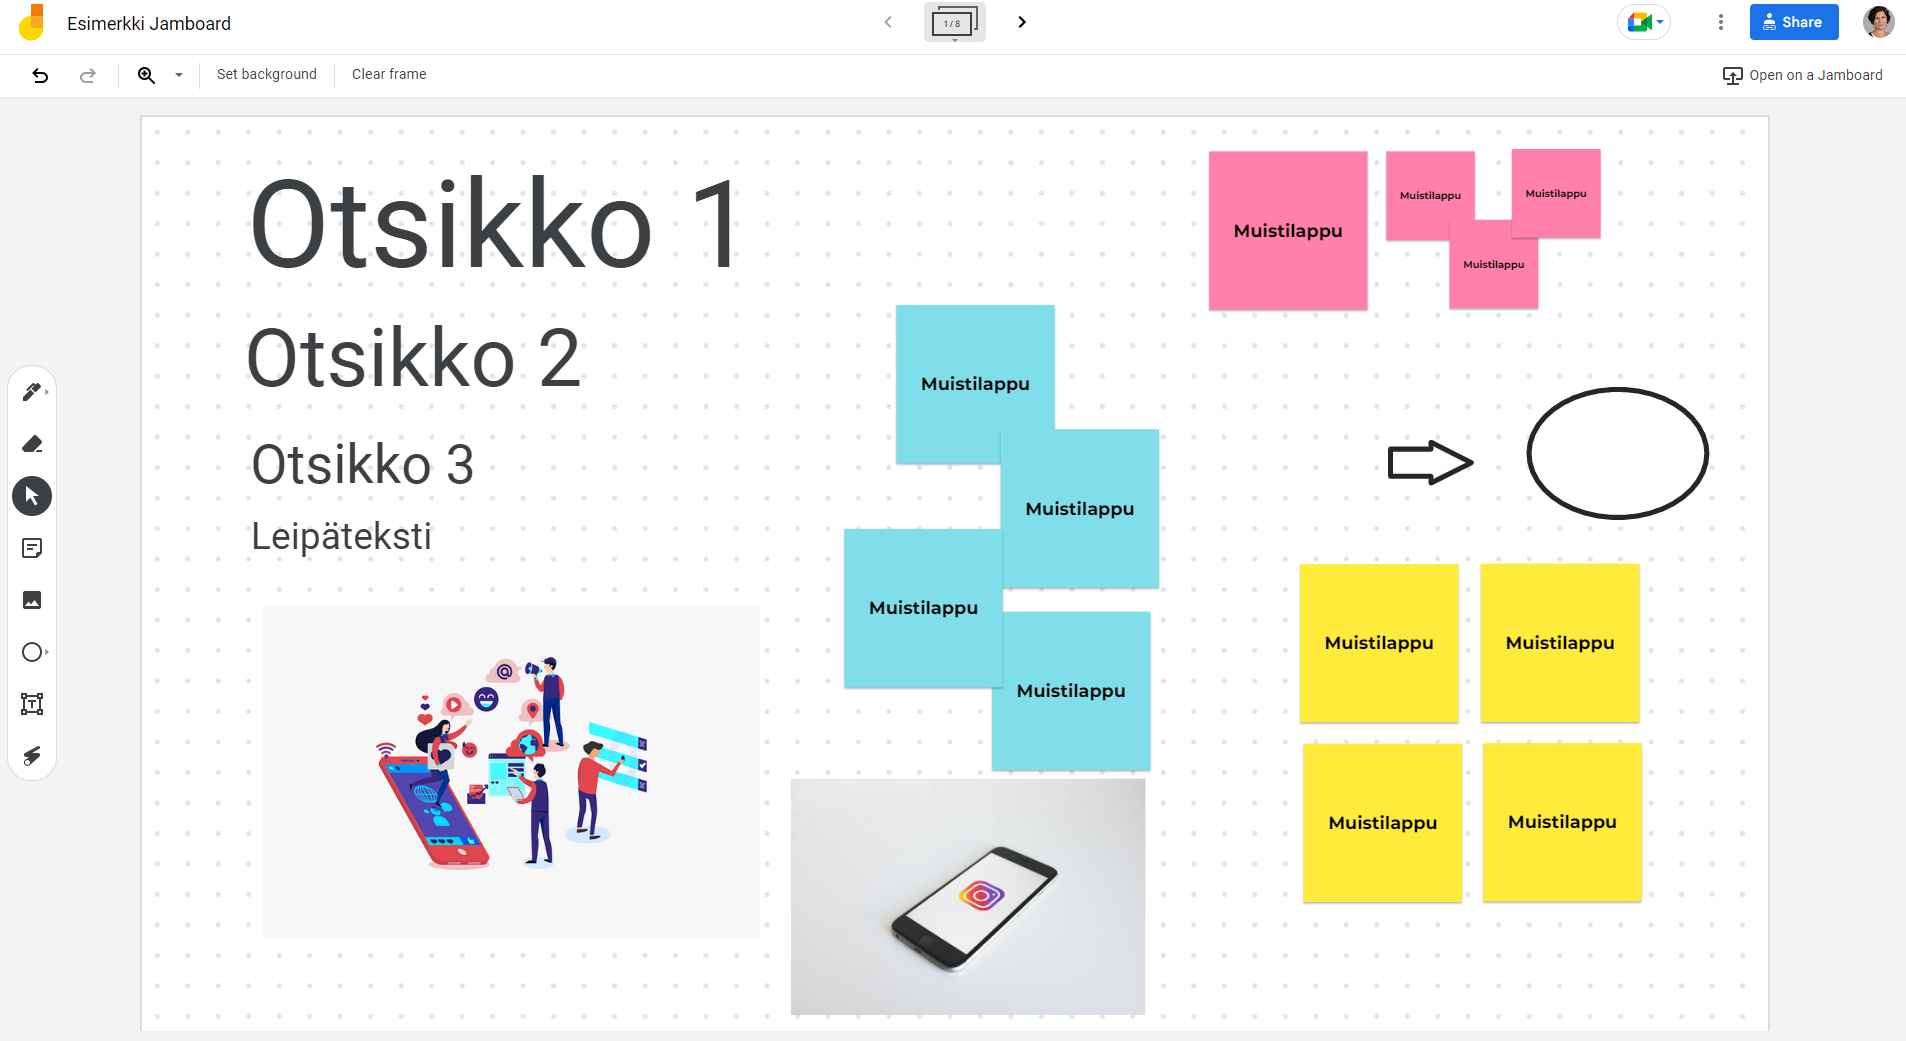
Google’s Jamboard is an easy-to-use whiteboard where you can add virtual notes, images and short texts. Multiple whiteboards can be added to a single Jamboard, allowing multiple groups to work in parallel.
Google Jamboard works smoothly with fewer than 30 people.
- Go to page eLearning Services.
- Select Siirry Googleen (Opiskelija) (Go to Google [Student]) under Työvälineet (Tools).
- Sign in with your Google ID.
- Press the waffle button and select Jamboard in Google Apps.
- Create a new whiteboard, name the board and prepare the whiteboard for brainstorming.
- Tools can be found on the left-hand side.
- You can create multiple whiteboards – navigate between the whiteboards using the top bar.
- Invite others to brainstorm on the whiteboard using the Share button: select everyone with the link, copy the link and share it with the participants.
